Happy New Year!!!!!!!!!!!!!!!!!!!!!
The last few weeks have been filled with fun, love and
family. We got to celebrate Christmas, 6 months of marriage, a new year, and my
birthday.
Talking about marriage, we got a number of cards for our
wedding and my bridal shower and I fell in love with the wording in a lot of the cards. I decided to keep them but did not want to store them in
a shoe box like I do a lot of items. My husband thinks I'm a very organized "Hoarder" and hopefully this will impress him :)
So, I did a Google search and found a lovely post by
Something Turquoise. She has a very detailed blog post with step-by-step instructions. I will only be posting pictures and if you would
like to do something like this for yourself, please go here.
I purchased some card stock paper (Purple, chipboard and a scrapbook paper), clear adhesive dots, book rings, glitter brads, hole punch, orange ribbon (leftover from wedding programs), 45 wedding and bridal shower cards, gold embossed labels, 4X6 wedding pictures, Sharpies, pencil, and a ruler.
 |
| Supplies- I ended up not using the Stencil Kit |
 |
| Chipboard and Purple stock paper |
 |
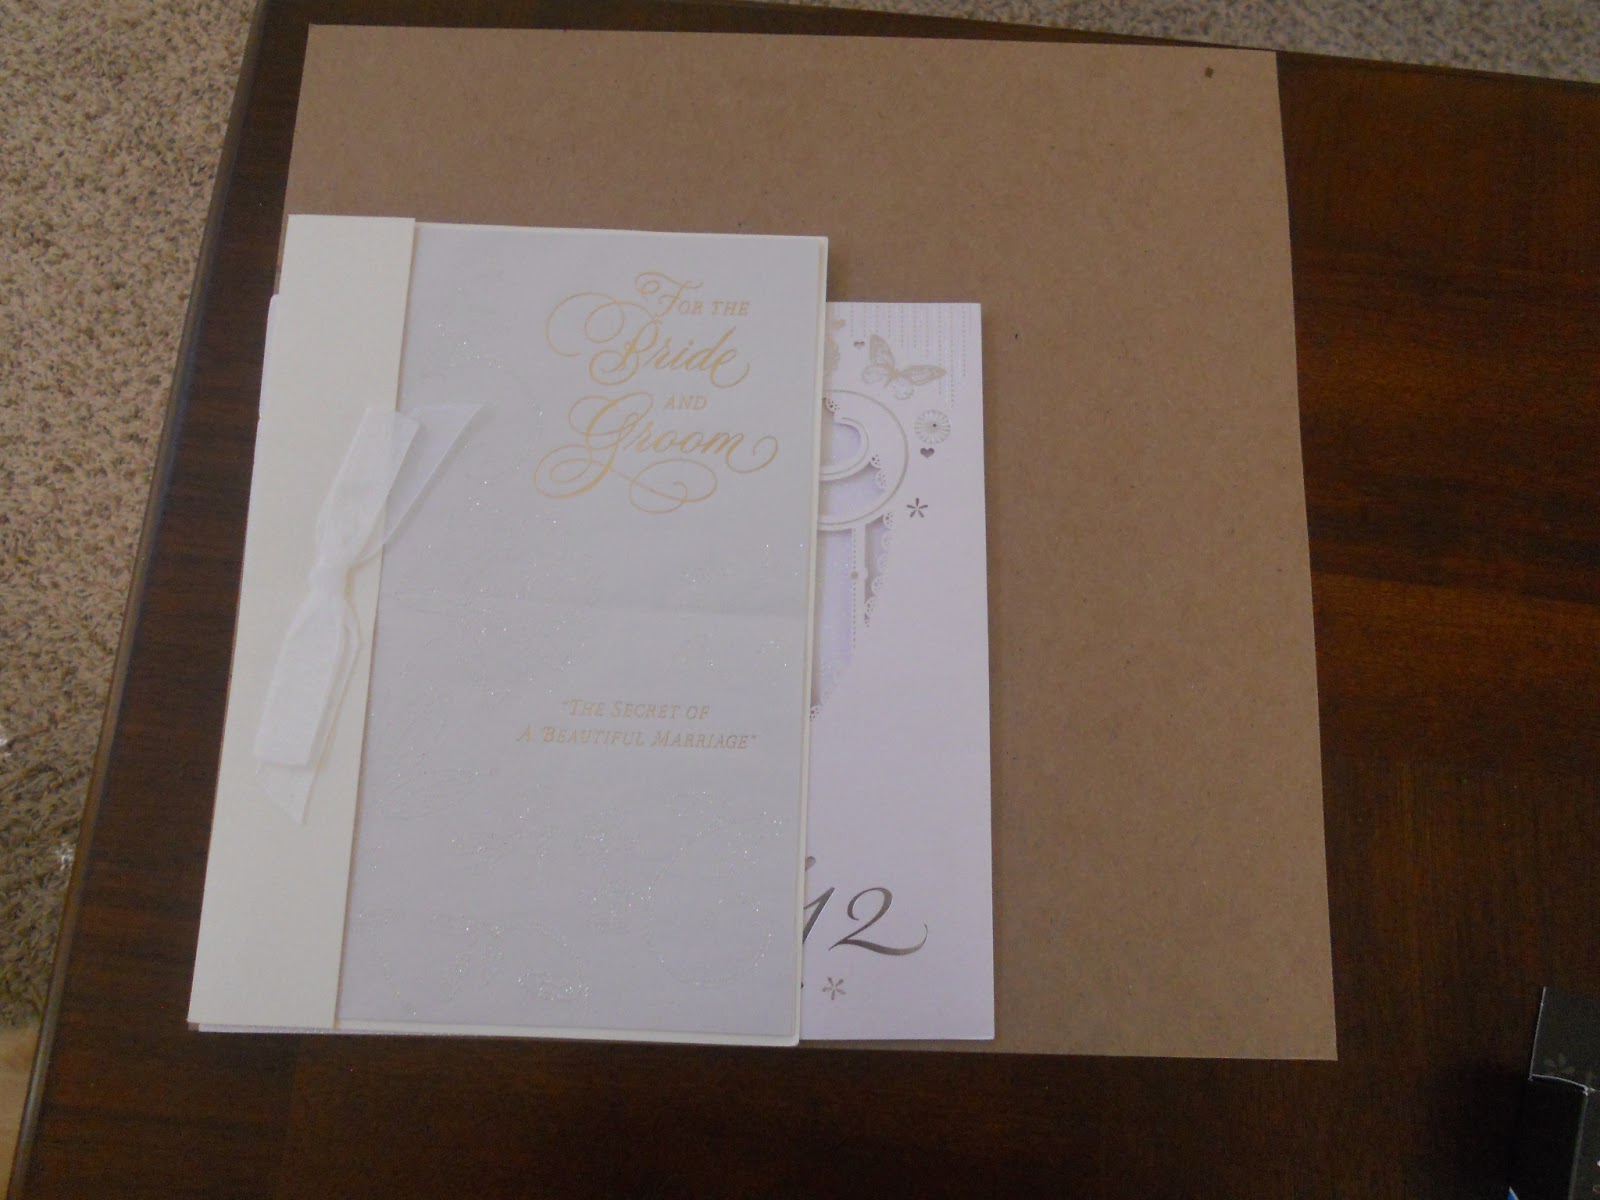
| Which card is the biggest? |
I had one card that was really wide and so I cut the chipboard based on the widest and longest cards. I contemplated removing the widest card because it would affect the look of the final album and make it more tapered but it is from a dear family member so I decided to just go with it.
 |
| Figuring out the dimensions of the covers |
I also decided instead to use some pictures in the album. I added a favorite picture of ours, which is a big part of our living room, to the cover.
 |
| Finished front cover |
I added some solo portraits of us to the inside front cover because I can :)
 |
| Inside front cover |
I also added some pictures of our traditional outfits from the reception and engagement to the inside back cover.... Just in case you are wondering we are doing the wobble in the first picture...... We love to dance !!!!!!!!!!!!
 |
| Inside back cover |
And for a finishing touch I added a picture between the gold brads to the back cover.
 |
| Back cover |
 |
| Side view- album is a bit more tapered because of the very wide card |
 |
| Side View |
I plan on doing something like this for Christmas cards,
Birthday cards, and Valentine cards. The hardest part of this, believe it or
not, was punching holes in the 45 cards – I will be investing in a better hole
punch with some hand support next time I do this especially if I have this many cards.
All in all, this was fun to do and it is a great way to keep cards. I was a bit conservative in my design and I will add more fun elements in my next card albums.
Have a blessed 2013 !!!!!!!!!!!!!!!!!!!!!!!!!!!!!!!