Showing posts with label DIY. Show all posts

Sunday, November 15, 2015

TV Stand

We felt the need to build a TV stand that fits the rest of the room after we couldn’t find what we wanted at an affordable price. This was a quick and fun project for JT, I did not participate in the project other than when he needed my opinion on the design. He started with a computer sketch and then moved on to a cut list. The project took 5 hours to build.  We hardly bought any materials for this project because we used left over white melamine shelf boards from the wall-to-wall built-in storage. We are happy with how it turned out. Enjoy

JT's Design (He even included my favorite TV Show)

JT's cut list


Boards getting ready to be cut and assembled

TV Stand assembled

Peg board installed behind to allow air in 

Making wall mount for Sport Center decal
 
Testing the fit for the storage cubes

Light installed in TV stand

Final TV Stand Reveal 

Friday, November 13, 2015

Dining Room Wall - DIY Floating Shelves and Cabinets

This year we took on one of the many projects that had been bothering me for a while! Our Kitchen / dining area had gone through multiple transformations already but none of them pleased us.

Dining room wall before
We wanted to redecorate with storage and décor in mind so automatically the ugly storage cube had to go.  The only item we wanted to keep was the large painting we got from one of our many “moms” as a house warming gift. JT came up with an idea that I was not initially on board with but since he was providing the labor and had his mentor “Papa T” to guide him, I figured we could give it a shot. We decided to add floating shelves to the sides of the painting and built-in lower cabinets for additional storage. 

We got the floating shelf idea from shanty2chic and used prefabricated upper cabinets as base cabinets. The project took us 3 weekends to complete and it turned out to be one of the best updates we have done to the house. Enjoy the pictures.

Prewiring for floating shelf lights and outlets
JT was very particular about having a clean connection so we don't have wires showing
Floating shelf frames in 

Ready to install cabinets to the wall

Base for cabinets and toe kick

Floor cabinets installed

Face plates for floating shelves routed
Light wiring inside floating shelf

Checking the fit of the shelf board
 
Stained shelves and counter top (yup I did some work too)

Dining room wall now (I LOVE IT)

Can you tell I really love this space!!!!!!!!!!!


Monday, June 1, 2015

Hello June - Bench Refresh

Hello lovelies, I have been on a blogging break for the last month just having some personal downtime.

June is one of my favorite months of the year. It signals the end of the 1st half of the year, my first nephew was born in June, we got married June, I started my job in June and above all June is the start of summer and bright colors.

One of the first things we ever had built was this wine holder bench. JT had a friend at work who built it and we just had to stain and seal it. Our friend Mo with Mococulture made the pillows and bench cushion. I used the cushion for knee support during one of our projects and that was the end of it.

1st "DIY" Project
We have been without a cushion for a few weeks now and I wanted an easy way to make a new cushion. I came across different tutorials online that used a plywood base, foam, cloth and staple pins. I noticed that the benches at work were made this way too.

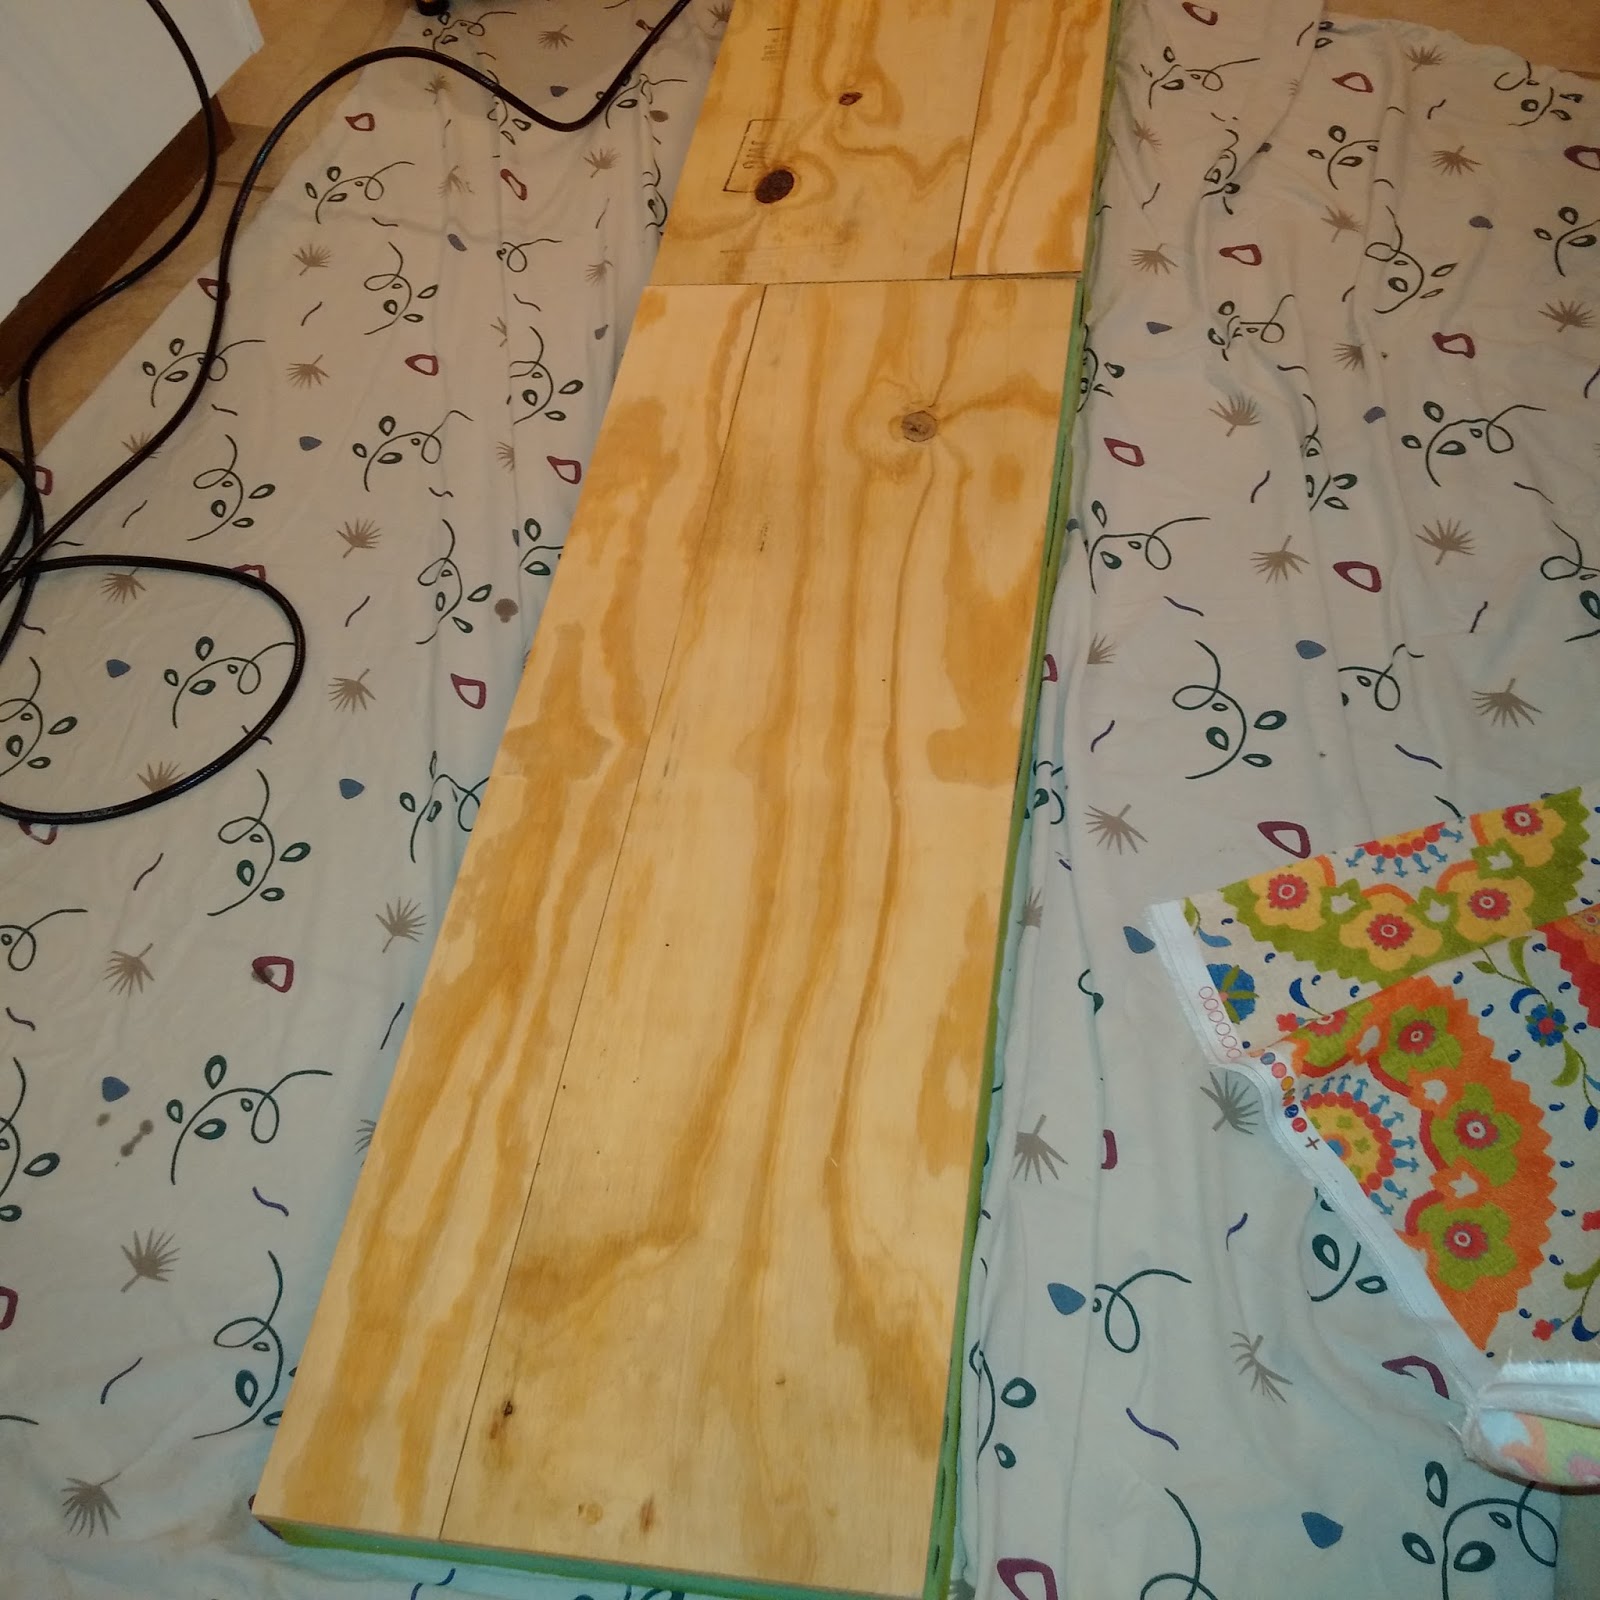
It would have been easier if we had plywood that was the right width but we had to patch pieces of wood together to build the base.

12 in pieces of plywood

Added 5 extra inches and staggered them for extra support
All we did was arrange the plywood, spray some adhesive, place the foam on it (we waited about an hour for it to stick) and then we covered it with the fabric and voila, it was done.

Getting ready to Wrap

All wrapped up

Pillows arranged

Pillows re-arranged

Table set
I love how bright it is and how much of a difference the floral print makes.

Sunday, March 22, 2015

Laundry Dresser

There are some people who love to do laundry and enjoy sorting, washing, folding and putting it away. Sometimes I am one of them and honestly most times I dread doing laundry.

We decided to build something to keep laundry tucked away and found this plan on Shanty 2 Chic... I love their website so much and we have gotten quite a few ideas from them . We used their plan for the Laundry Dresser with a few tweaks of our own.

The supply list is identical to what they used for the most part except we decided to create 2 false drawers instead of 3. We also used simple knobs instead of the cup drawer pulls to match our existing dresser and side table. JT routed the top of the dresser to soften the sharp edges.

We used hooks and cable wire to hold the doors to the dresser so the fronts don’t just fall to the floor when opened.

Here are pictures of the process. Enjoy !

It's all about the base

3 compartments

Basket Holder

Almost done with the 3 compartments

Adding the 2 false drawer fronts

6 False drawers

Straight edges before routing

Added some curves

Close-up of routed edges

Testing the dresser

Sanded and Primed the top

Fully primed

Hook & wire holding up baskets

Hands free to pick up laundry 

Ready for some Laundry or not !!!
Have a great week !!!!!!!!!!!!!!!!!

Tuesday, February 24, 2015

Operation Guest Room Recovery

Remember this padded headboard and these side tables and this guest room reveal? Well, we decided to upgrade the entire guest room using the same materials and spending little to no money. It's great to see how far we have come in 2 years. We have worked on some amazing projects and still have a lot more lined up that just amaze me. I’m so excited and thankful for how how far JT and I have come. We also have amazing friends/mentors who have been instrumental to improving our home decor, woodworking and designing skills. 
First off, here is where we started from. 

Guest Room Before
Not too bad but the side tables were starting to bother me (seeing as we are now such great builders :) ). I really hated our attempt at staining the wood; the construction was a little too shabby. Our first move was to disassemble all 4 side tables and reconstruct them into 2 side tables. We wanted to maintain a modern look with open storage so JT and I came up with a design. The original tables were 2 different sizes so the resulting tables are 2 different sizes. 

new design
We painted them grey and added a silver drawer pull to give the illusion of a drawer. I am pretty sure some guests will pull on the dummy drawer and be shocked .

side table with grey paint
The next project was a quick one, I updated the map shades. I wanted to the lamps to the side table. I followed this tutorial here without the ribbon.

materials used

refinished lamps
And finally the Pièce de résistance….the head board!!!! We got some lovely purple upholstery fabric that was on Mega sale with silver nail head trim to update the headboard.
We wanted some curves to the room so after taking of the backing fabric and taking off come of the foam and batting we measured some points, used a bowl to cut off the curve and then used the first piece to cut out the second piece
cut off 2 corner arcs using a plastic bowl
Next, we roughly cut off about 1/2 and inch off foam around the top and sides for the nail head trim.
The hardest part by far was adding on the nail head trim. That took about 2 hours while everything else took minutes. We started with the top, continued to the right side and finally the left side. 
 
adding the nail-head trim
We used a cover button kit to make 7 buttons. After some measurements we placed 3 buttons on the top row and 4 buttons on the bottom. The bottom half of the headboard is covered by pillows so we didn't see a need to have more than 2 rows. We passed the buttons through the holes using a long embroidery needle and embroidery thread. 


back view of holes for buttons
Buttons on 
Finally, with some team effort and nip-tucking we secured the bottom using the staple gun. I reinforced the entire perimeter at the back then attached the back cover to kepe things neat (felt from the old headboard)


back cover to keep things neat and tidy
These were a really fun projects, it took about a day to get all three projects done.

ready for guests 
I believed Operation Recovery was a success if I do say so myself.