Showing posts with label Laundry. Show all posts

Sunday, March 22, 2015

Laundry Dresser

There are some people who love to do laundry and enjoy sorting, washing, folding and putting it away. Sometimes I am one of them and honestly most times I dread doing laundry.

We decided to build something to keep laundry tucked away and found this plan on Shanty 2 Chic... I love their website so much and we have gotten quite a few ideas from them . We used their plan for the Laundry Dresser with a few tweaks of our own.

The supply list is identical to what they used for the most part except we decided to create 2 false drawers instead of 3. We also used simple knobs instead of the cup drawer pulls to match our existing dresser and side table. JT routed the top of the dresser to soften the sharp edges.

We used hooks and cable wire to hold the doors to the dresser so the fronts don’t just fall to the floor when opened.

Here are pictures of the process. Enjoy !

It's all about the base

3 compartments

Basket Holder

Almost done with the 3 compartments

Adding the 2 false drawer fronts

6 False drawers

Straight edges before routing

Added some curves

Close-up of routed edges

Testing the dresser

Sanded and Primed the top

Fully primed

Hook & wire holding up baskets

Hands free to pick up laundry 

Ready for some Laundry or not !!!
Have a great week !!!!!!!!!!!!!!!!!

Saturday, February 16, 2013

Laundry Room Remodel


2013 is starting off to be a very busy year for us but we have been able to get some home improvement projects done. I have always wanted to paint more walls in the house but we decided to take it slow. 

Impressed by how the master bedroom turned out Ty and I decided to paint the laundry room. Since the wedding, I have been obsessed with orange and purple. We wanted the laundry room to be bright and beautiful so we decided to go with orange. While looking for ways to accessorize the orange color and if it would even look good, we came upon this website via Pinterest. 

We also came across this stenciled washer and dryer on Pinterest and Ty was actually okay with it. We tried to look for another damask stencil but ended up using the same one. Thanks How to Nest For Less for the amazing ideas.

Below are pictures of the process of the laundry room transformation which included

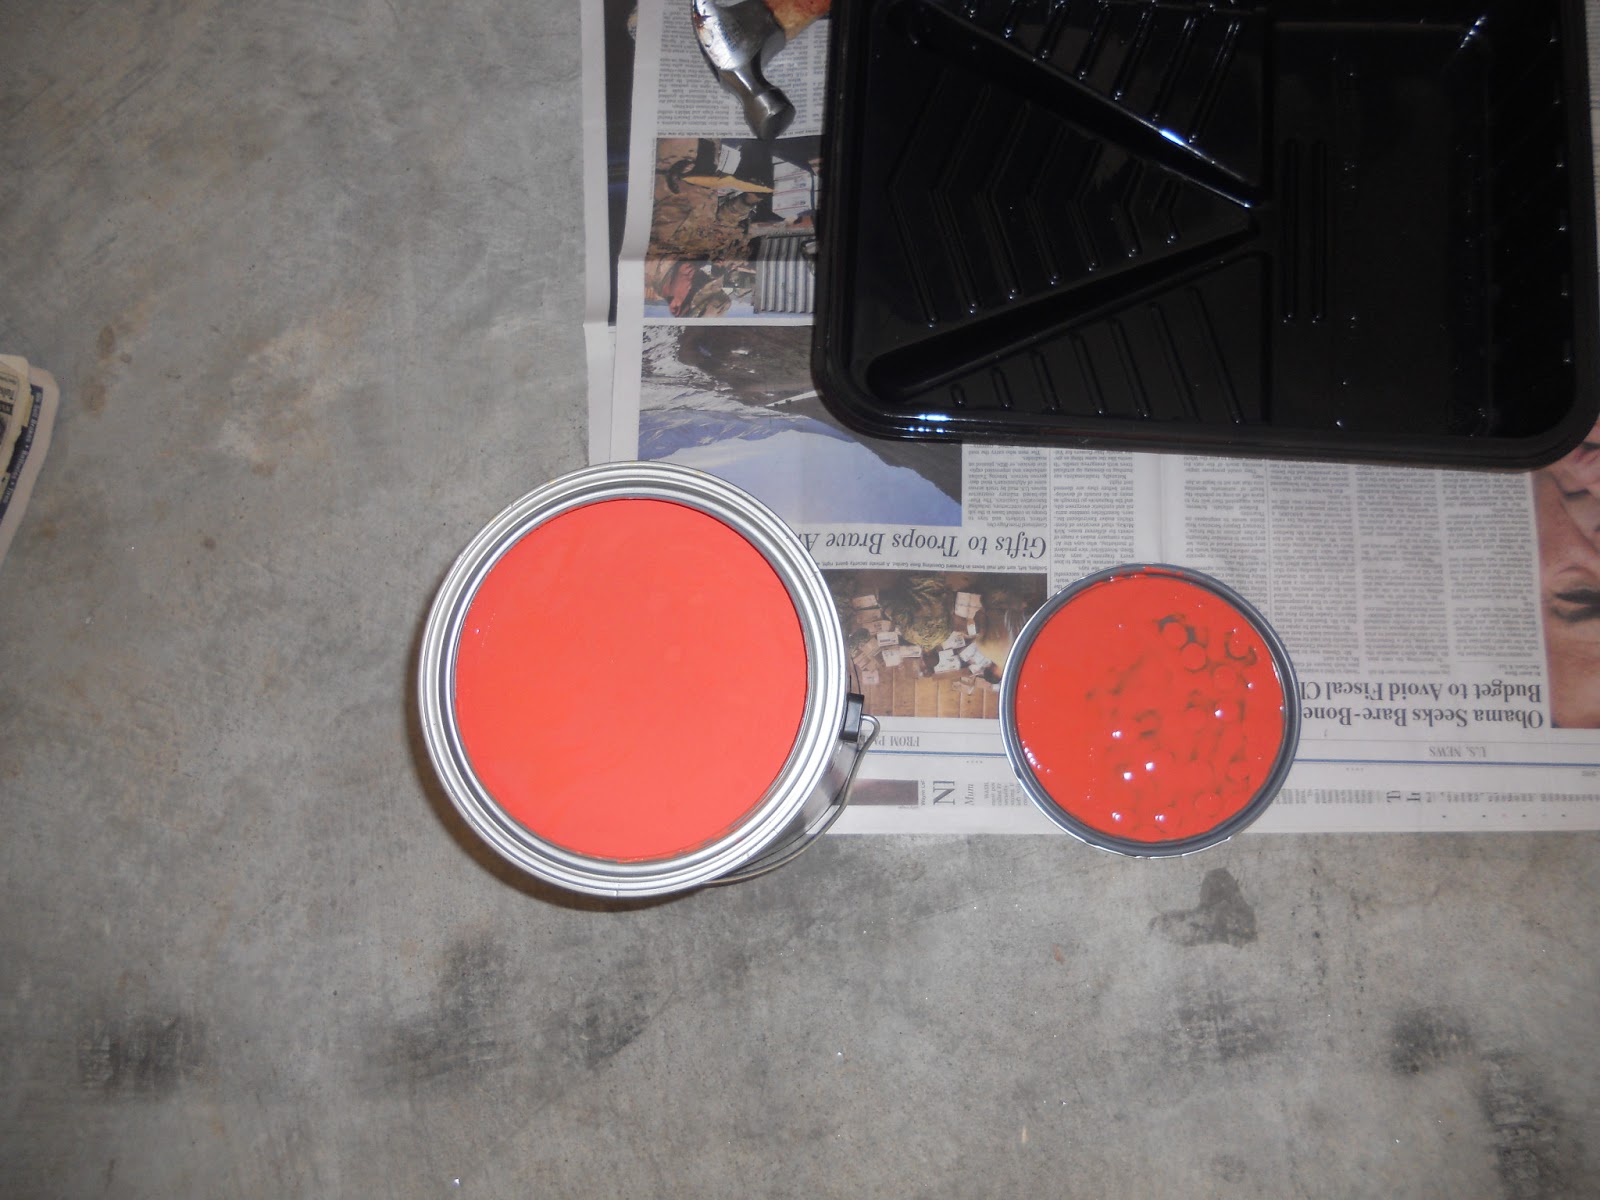
  • Painting the walls orange (We used Hacienda Tile by Valspar)
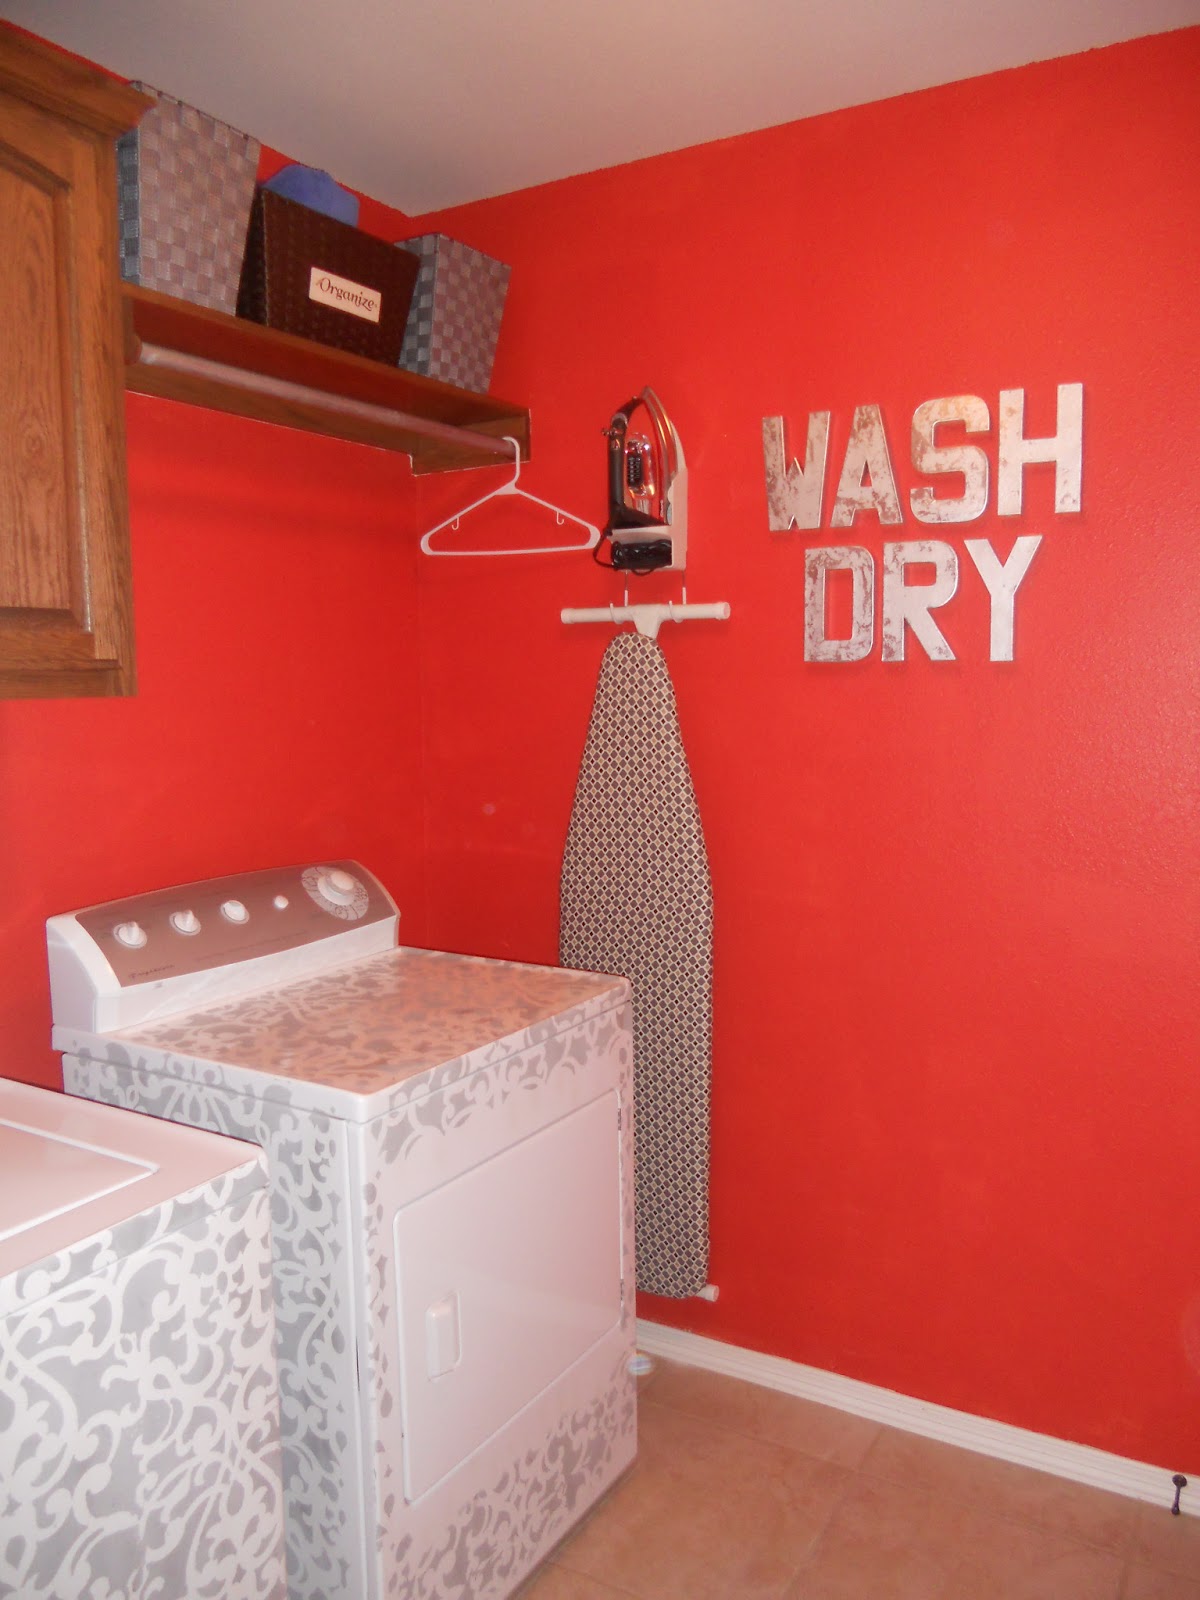
  • Silver Wash & Dry (Hobby Lobby letters & Krylon Aluminum spray)
  • Ironing board cover( cloth and fasteners  from Joann’s)
  • Stenciled Washer & Dryer (Donatella Damask Stencil, Annie Sloan Chalk Paint, and rust-o-leum polyurethane spray) 
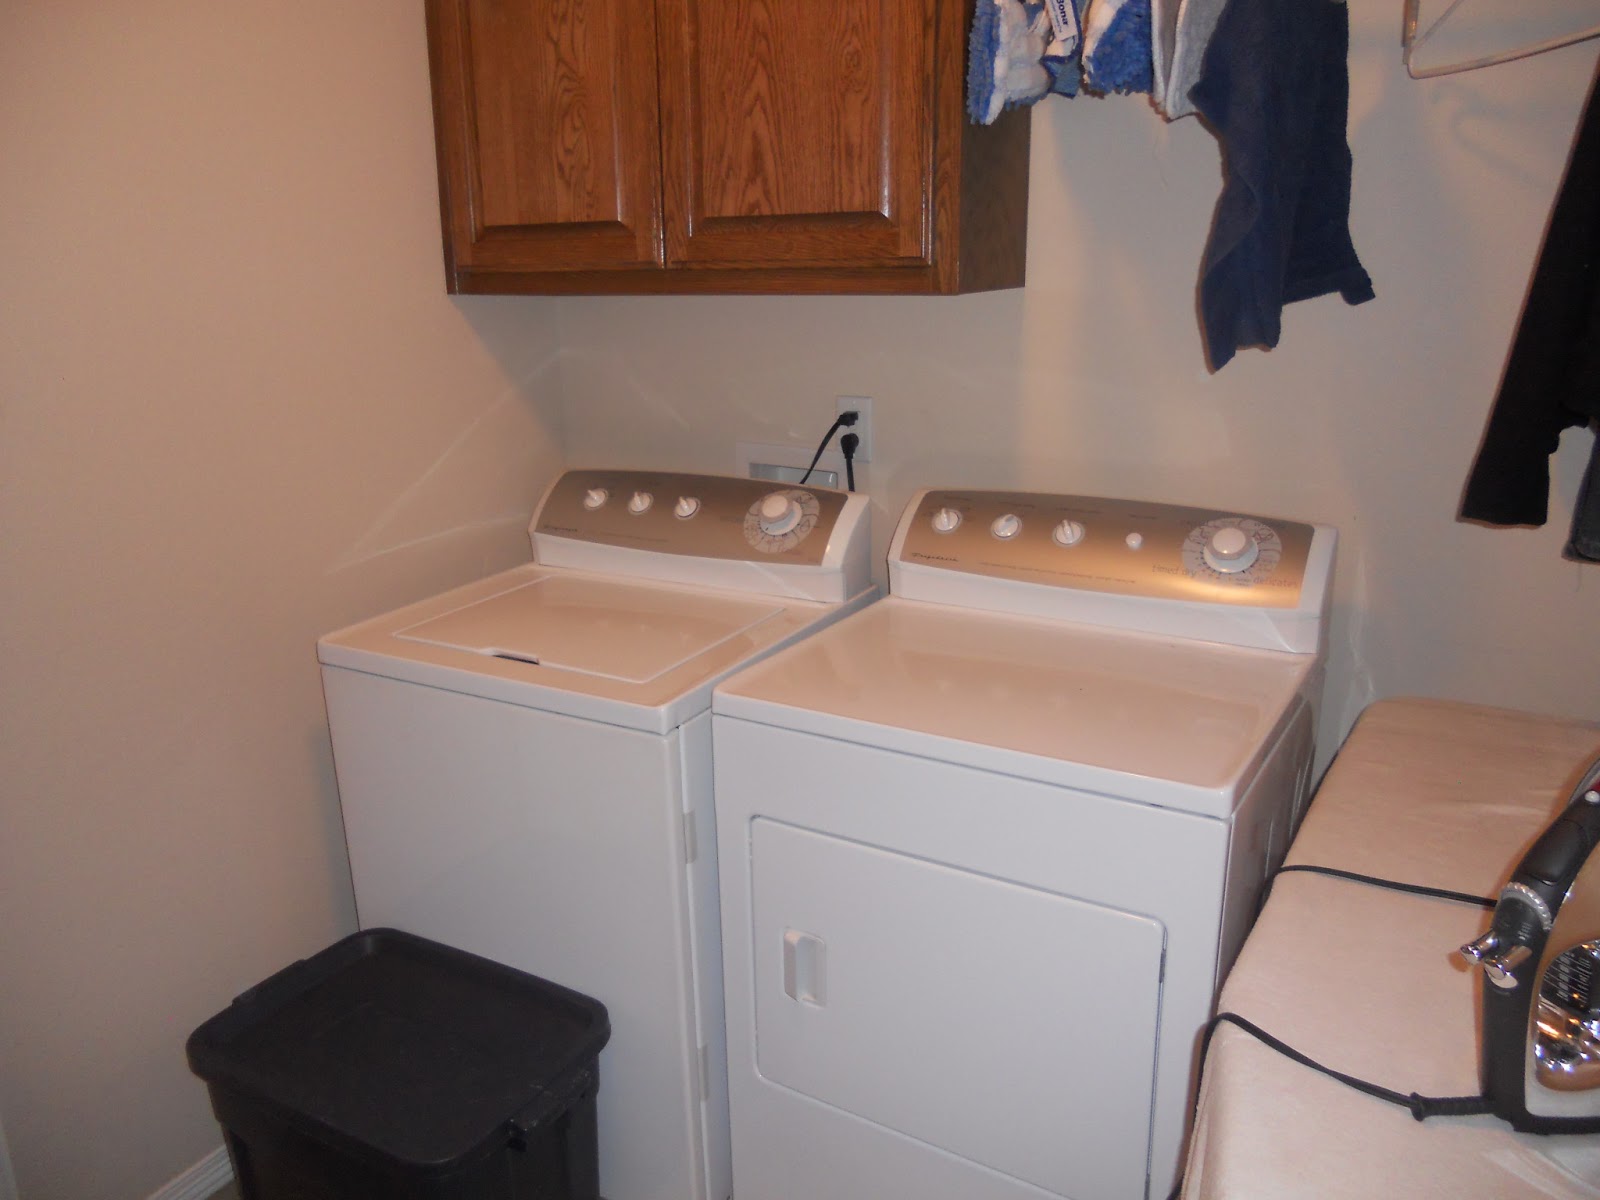
Messy laundry room side wall

"front view" of laundry room

Everything is out and almost ready for work to be done

Hacienda Tile Paint

Testing the paint on the wall... Looks BEAUTIFUL!!!


Getting ready to spray paint the letters

Spray Painted with 2 coats and waiting to dry
Not so pretty ironing board. Ty has had this thing for like 10 years

Supplies: fasteners, stretchy board cover and cloth

Nice blue cover, we could have stopped here but where's the challenge in that?
Fitting the cloth

Ironing board cover.. Yay !!!!

Annie Sloan Chalk Paint

Donatella Damask Stencil from Royal Design Studio

Wouldn't you want to do laundry in these.... I do !!!!!!

"Front" view

Side view
Before & After "Side" view

Before & After "Front" view


Here is our beautiful laundry room. This is the first thing we see when we come into the house through the garage. It is such a lovely sight to welcome us home. We accessorized with the silver and brown baskets and hung the ironing board and iron on the wall. 

Looking forward to doing loads of laundry now.......