We have been using a dining table that my friend gave me shortly
before she moved out of town for a few years now. I had the dining table in my
apartment before we got married and moved into our house. We enhanced the table
a little bit by sanding and staining the top and redressing the chairs with green
outdoor fabric. I liked it for a while until we had to host Christmas last year
and we did not have enough space to fit everyone. Also the metal frame was
getting a little shaky so I started “pondering” a solution.
 |
| Our dinning table and chairs (Before) |
At that time I was a DIY novice so the thought of building a
dining table never crossed my mind. A lot of the tables that I liked were in
the $1000-$2000 range and there was noooooo way we were going to pay that much
for a dining table. After a couple of DIY projects we did around the house I
joked about building a dining table and JT said “hey why not, if it doesn’t
work out, we’ll toss it aside”. That’s how it started.
I follow a lot of DIY blogs and remembered reading about Ana
White’s home building projects. Ana White has a “brag
section” on her blog where people post what they did with her plans; I browsed
around and started believing we could totally build our own table. We picked one we liked and modified it to fit our dining area and taste.
 |
| Wood shopping - we used untreated white wood |
The table costs approximately $179 and about 43 hours spread
over 3 weeks to complete. Here is the
cost break down
Dining Table
|
Wood
|
$ 85
|
Metal Brackets
|
$ 40
|
Spray Paint (4)
|
$ 20
|
Dark Walnut Stain
|
$ 8
|
Polyurethane
|
$ 11
|
Kreg Screws
|
$ 15
|
Total
|
$ 179
|
Tools we used: Circular saw, jig saw, clamps, Kreg jig (for pocket holes), sander, metal brackets, wood glue, Kreg self-tapping screws
 |
| Work Table (old table top put to work) |
 |
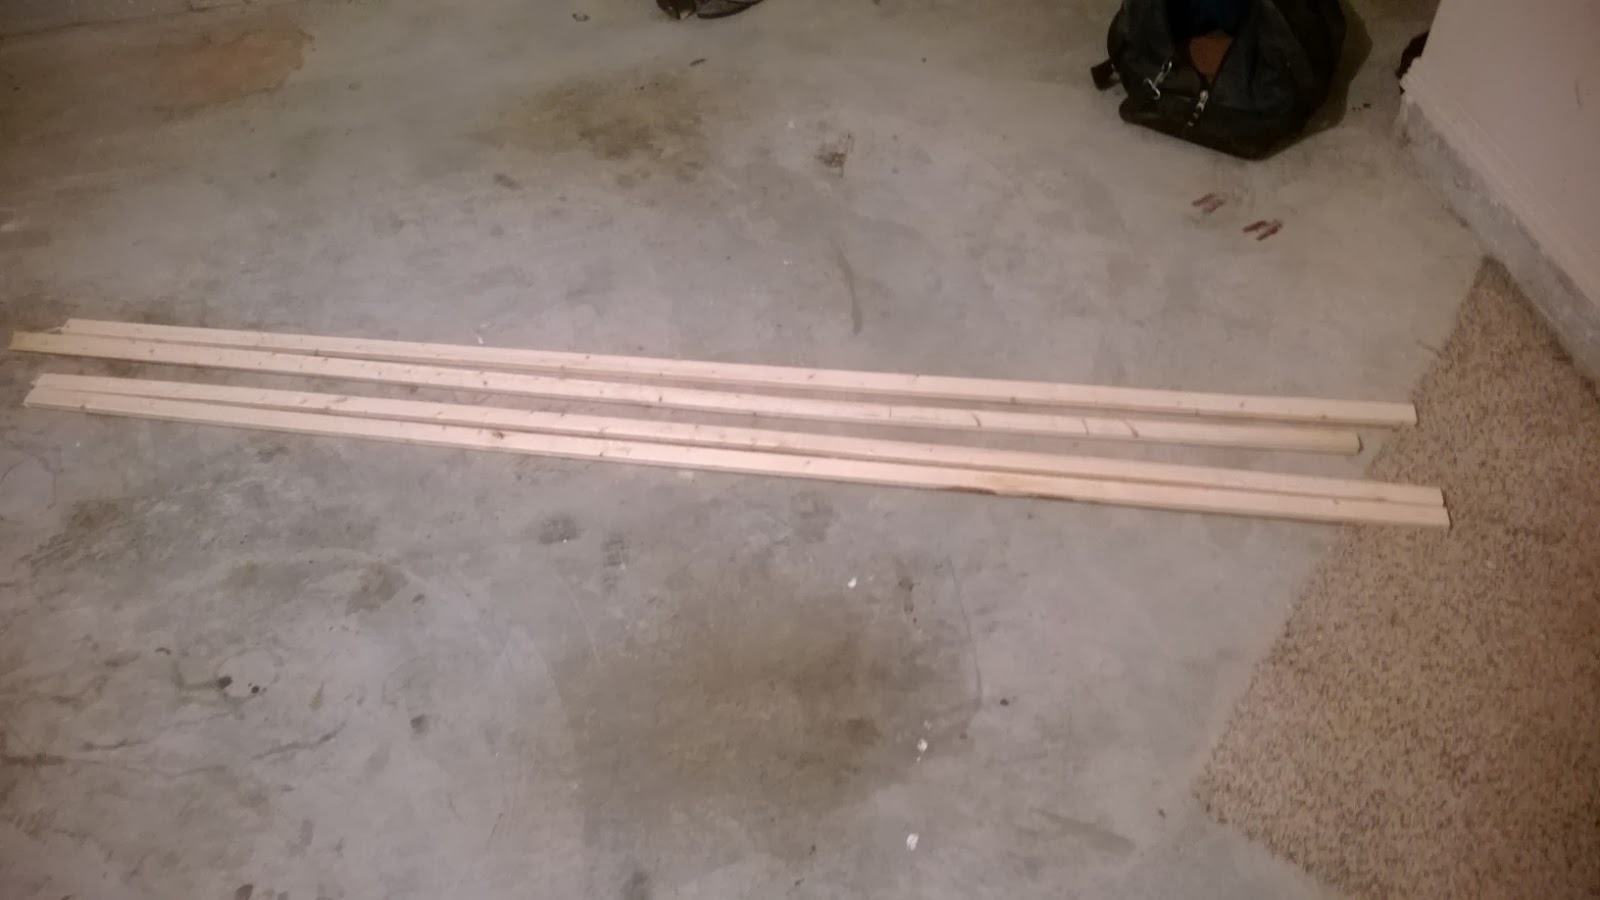
| We set the wood in the garage to acclimatize to our house before cutting |
 |
| The arches (for the pedestals) were the easiest to cut thanks to the jig saw |
 |
| JT putting the pedestals together (we used a lot of clamps for this project) |
 |
| Pedestals fitted with base and bottom (caution...heavy) |
 |
| Pedestals fitted with arches |
 |
| Lining out table top (make sure both ends are even to attach to end pieces) |
 |
| We used pocket holes and Kreg self-tapping screws for attachment, glue works but takes years to dry. |
 |
| We lined out all the pieces to make sure pocket holes were rightly placed |
 |
| Mario and Mason giving their approval |
 |
| Metal brackets for additional supports to prevent bowing overtime. We got this idea here |
 |
| Table top brought in to acclimatize to the humidity of the house (caution...HEAVY!!!!) |
 |
| Sand sharp edges before staining |
 |
| We stained to match our window bench / wine holder. Two coats with sanding in between (love the grain and knots) |
The most challenging part of putting the table together is passing the stretcher bar through the pedestals. We couldn't have done it without extra muscles from my brother-in-love (JT's twin brother, who is an AWESOME photographer by the way). It took us almost two hours to attach it. The table top weighs more than 60 pounds so you know who wasn't doing the lifting.
 |
| BAM!!!! You were not expecting the antic white paint on the pedestals were you? |
 |
| Table came out exactly how i imagined it would. |
 |
| View from the bottom |
 |
| Look at the beautiful details |
Our “fancy” new dining table needed “new” chairs so
here’s what we did to the chairs we already had. All we used were 1.5 yards
of fabric and 3 cans of bronze spray paint.
 |
| Old Chairs |
 |
| Before spray paint |
 |
| After spray paint |
 |
| Bronzed-out-million-dollar-looking chair |
 |
| Dinner for Six!!!!! |
We bought the head chairs from a local furniture store to give the dinning area an elegant look. This is by far the most exciting DIY to date. Thanks to JT for being the brawn behind my brains; I come up with these DIY ideas and he helps bring them to life.