Friday, November 13, 2015

Dining Room Wall - DIY Floating Shelves and Cabinets

This year we took on one of the many projects that had been bothering me for a while! Our Kitchen / dining area had gone through multiple transformations already but none of them pleased us.

Dining room wall before
We wanted to redecorate with storage and décor in mind so automatically the ugly storage cube had to go.  The only item we wanted to keep was the large painting we got from one of our many “moms” as a house warming gift. JT came up with an idea that I was not initially on board with but since he was providing the labor and had his mentor “Papa T” to guide him, I figured we could give it a shot. We decided to add floating shelves to the sides of the painting and built-in lower cabinets for additional storage. 

We got the floating shelf idea from shanty2chic and used prefabricated upper cabinets as base cabinets. The project took us 3 weekends to complete and it turned out to be one of the best updates we have done to the house. Enjoy the pictures.

Prewiring for floating shelf lights and outlets
JT was very particular about having a clean connection so we don't have wires showing
Floating shelf frames in 

Ready to install cabinets to the wall

Base for cabinets and toe kick

Floor cabinets installed

Face plates for floating shelves routed
Light wiring inside floating shelf

Checking the fit of the shelf board
 
Stained shelves and counter top (yup I did some work too)

Dining room wall now (I LOVE IT)

Can you tell I really love this space!!!!!!!!!!!


Monday, June 1, 2015

Hello June - Bench Refresh

Hello lovelies, I have been on a blogging break for the last month just having some personal downtime.

June is one of my favorite months of the year. It signals the end of the 1st half of the year, my first nephew was born in June, we got married June, I started my job in June and above all June is the start of summer and bright colors.

One of the first things we ever had built was this wine holder bench. JT had a friend at work who built it and we just had to stain and seal it. Our friend Mo with Mococulture made the pillows and bench cushion. I used the cushion for knee support during one of our projects and that was the end of it.

1st "DIY" Project
We have been without a cushion for a few weeks now and I wanted an easy way to make a new cushion. I came across different tutorials online that used a plywood base, foam, cloth and staple pins. I noticed that the benches at work were made this way too.

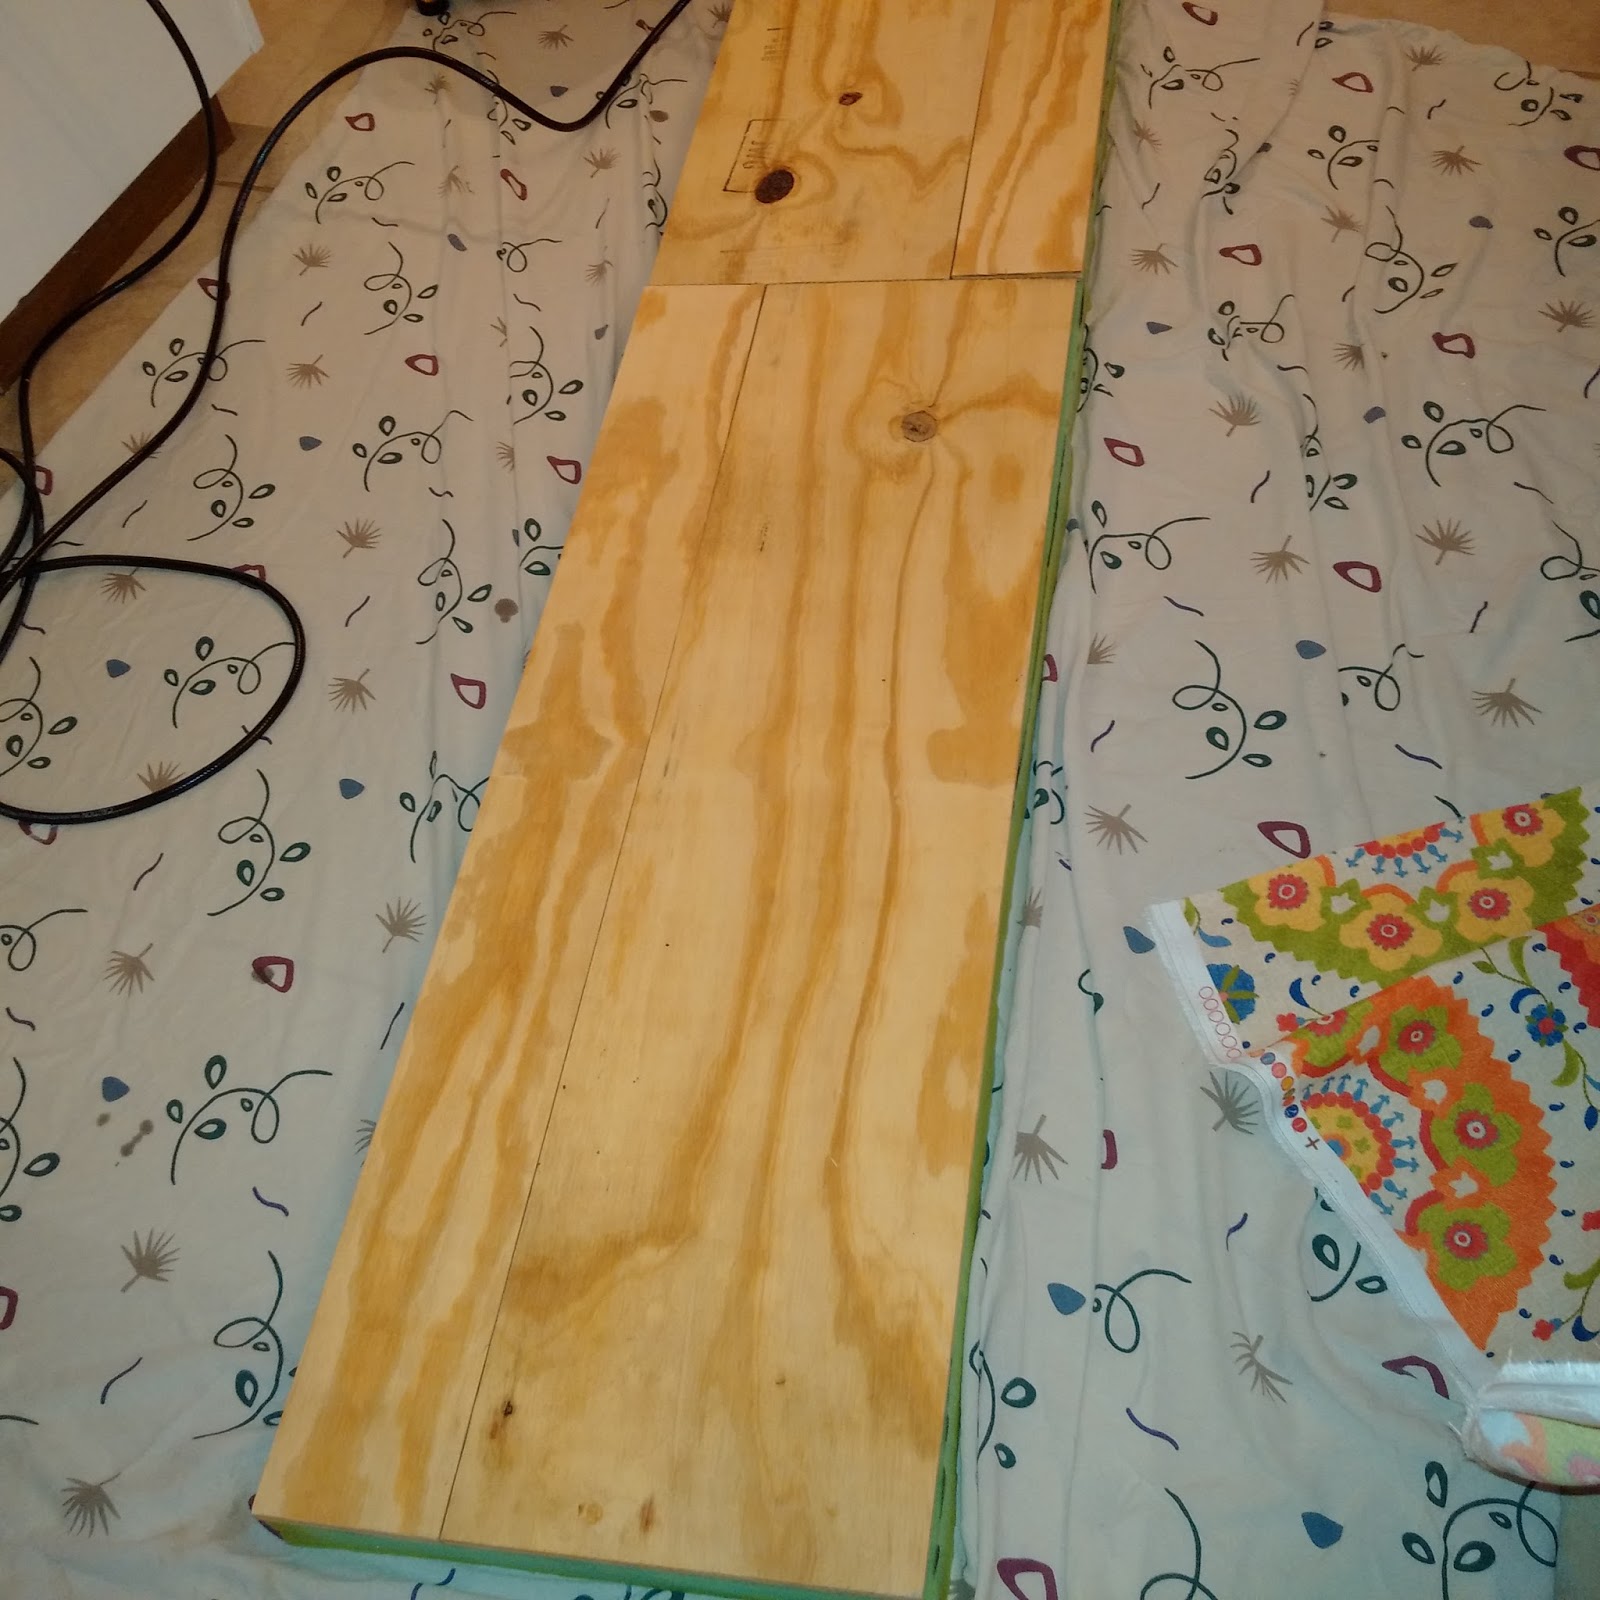
It would have been easier if we had plywood that was the right width but we had to patch pieces of wood together to build the base.

12 in pieces of plywood

Added 5 extra inches and staggered them for extra support
All we did was arrange the plywood, spray some adhesive, place the foam on it (we waited about an hour for it to stick) and then we covered it with the fabric and voila, it was done.

Getting ready to Wrap

All wrapped up

Pillows arranged

Pillows re-arranged

Table set
I love how bright it is and how much of a difference the floral print makes.

Monday, April 6, 2015

I Heart Map

This post is in honor of the recently held elections in Nigeria. I am thankful for a transparent and peaceful outcome.

On one of my random Pinterest escapades, I came across pictures of maps of different US states made with string and nails on stained wood. Immediately I knew I had to have one with my twist on it and as always relatively low cost to make.

The project was so easy, we worked on it while we were watching TV and hanging out. We started out with some yarn but decided to use sewing thread instead (the yarn was too thick for the nails). The hardest part was knocking in the nails to trace out the map, this took about 30 minutes to complete. This project cost next to nothing because we already had the wood (leftover board from the built-in shelf), nails and thread.

We used the Rasterbator wall art generator online to print the map on 4 pieces of 8.5 X 11 paper.

We placed the heart in the Southwestern part of Nigeria because we were both born and raised there. We chose orange thread because it added the best pop of color against the white board.

Here are pictures of the process.

left over 15.25 X 22 melamine board

Side view of melamine particle board

Had to paint the sides that we covered with iron-on veneer

Map made of 4 pieces of paper

My big baby & I waiting for JT to make the keyholes

Keyhole bit 

Keyholes for hanging 

Measuring out the wall space

Added some reinforcement to the wall since we are not hanging on studs

Everything is level even if the picture is not

Started out with the gold nails

Almost done with the nails

I Heart Nigeria 

Rearranging the thread

Added a gold washi tape border to finish
Have a great week !!!!!!!!!!