JT and I were trying to do something fun for date night on
Friday and as a foodie all my ideas included eating out. We wanted to do
something different from just going out to eat so my dear man came up with the
brilliant idea to write names of different areas in the house and with a budget
of $50 come up with something to put in that room. I really wanted the 2nd
guest room and JT wanted the Living Room… well, I got the Kitchen and he got
the Guest Room (slightly upset wife). We gave each other 30 minutes to come up
with a design plan and off we went to buy the materials.
I decided to red-do the knife block in the Kitchen because I saw a similar design here with a green color scheme that fits our kitchen and included my favorite
color Purple.
I spent about $15 total
so I was way under budget. The items I used for the knife block are
- Medium sanding block
- Multi-surface spray primer
- Indoor/Outdoor Spray paint
- Polyurethane spray (already had this at home so it was not part of my budget)
- Newspapers
There are numerous tutorials online and you can find
different ideas on the internet.
Well, here is what I ended up with and I was not too happy
with it.
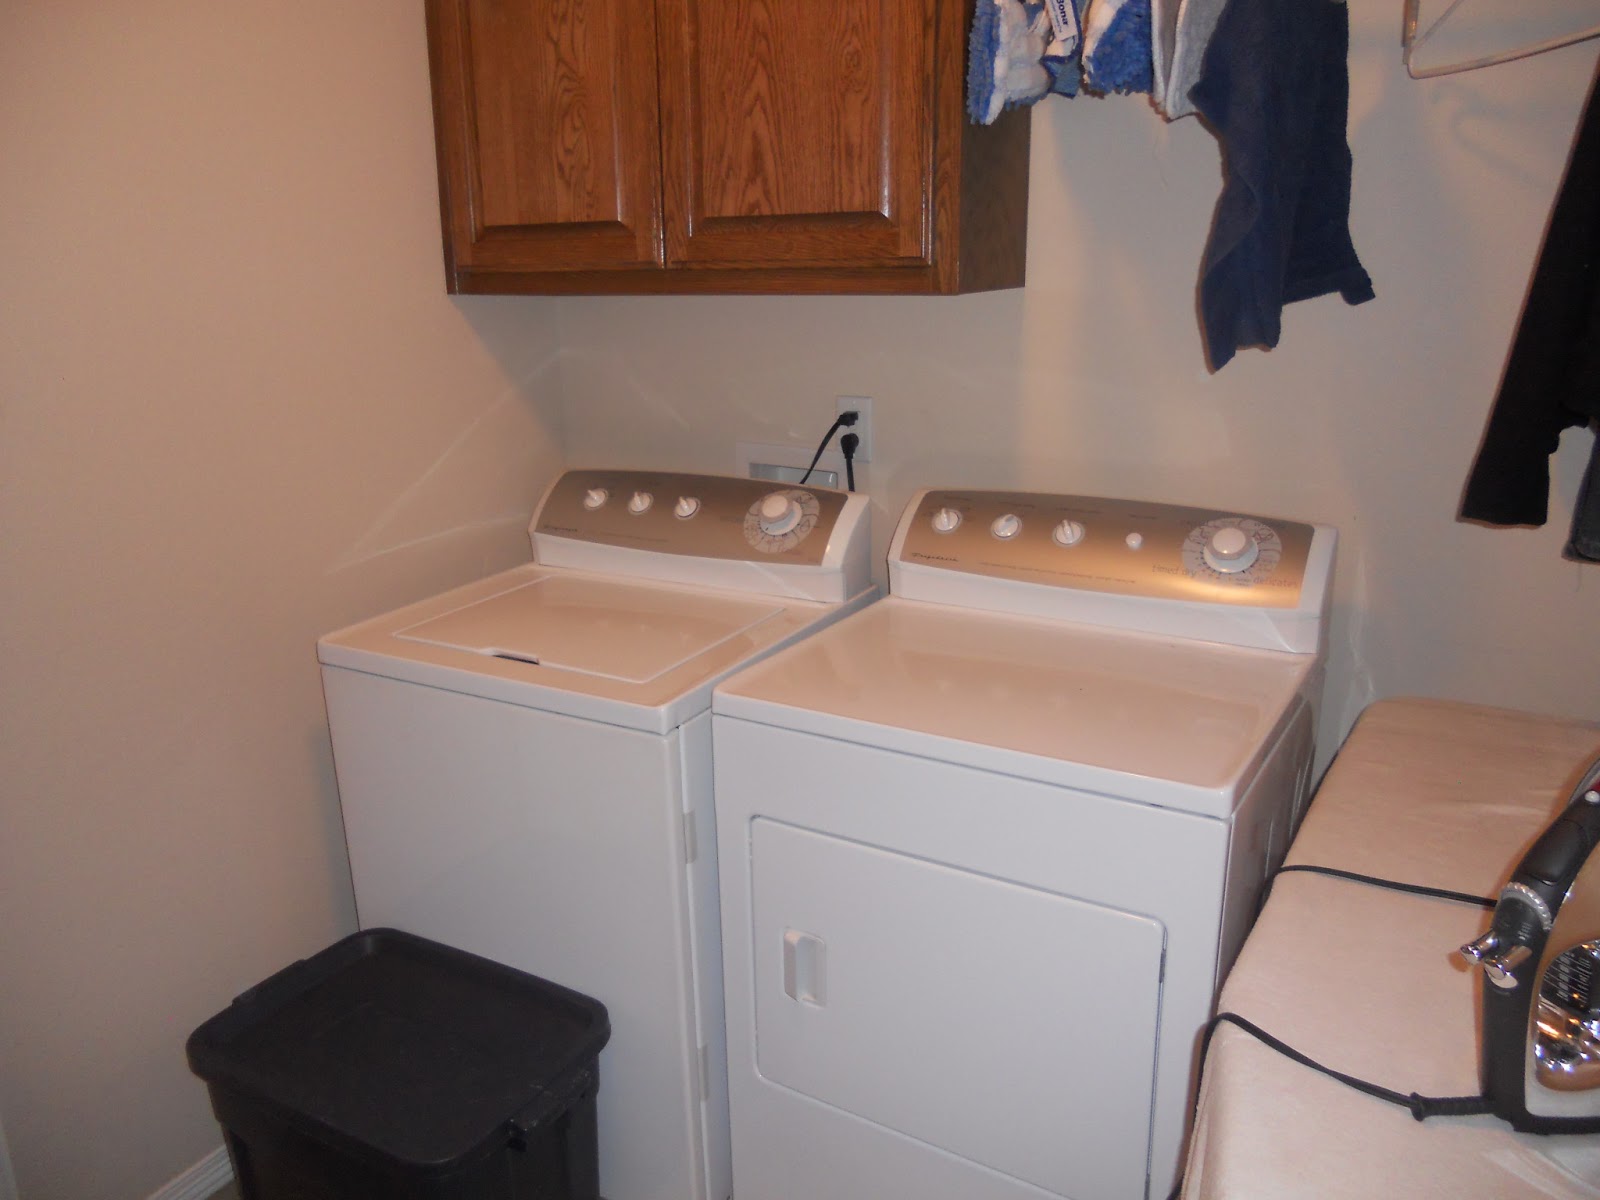
 |
| Before |
 |
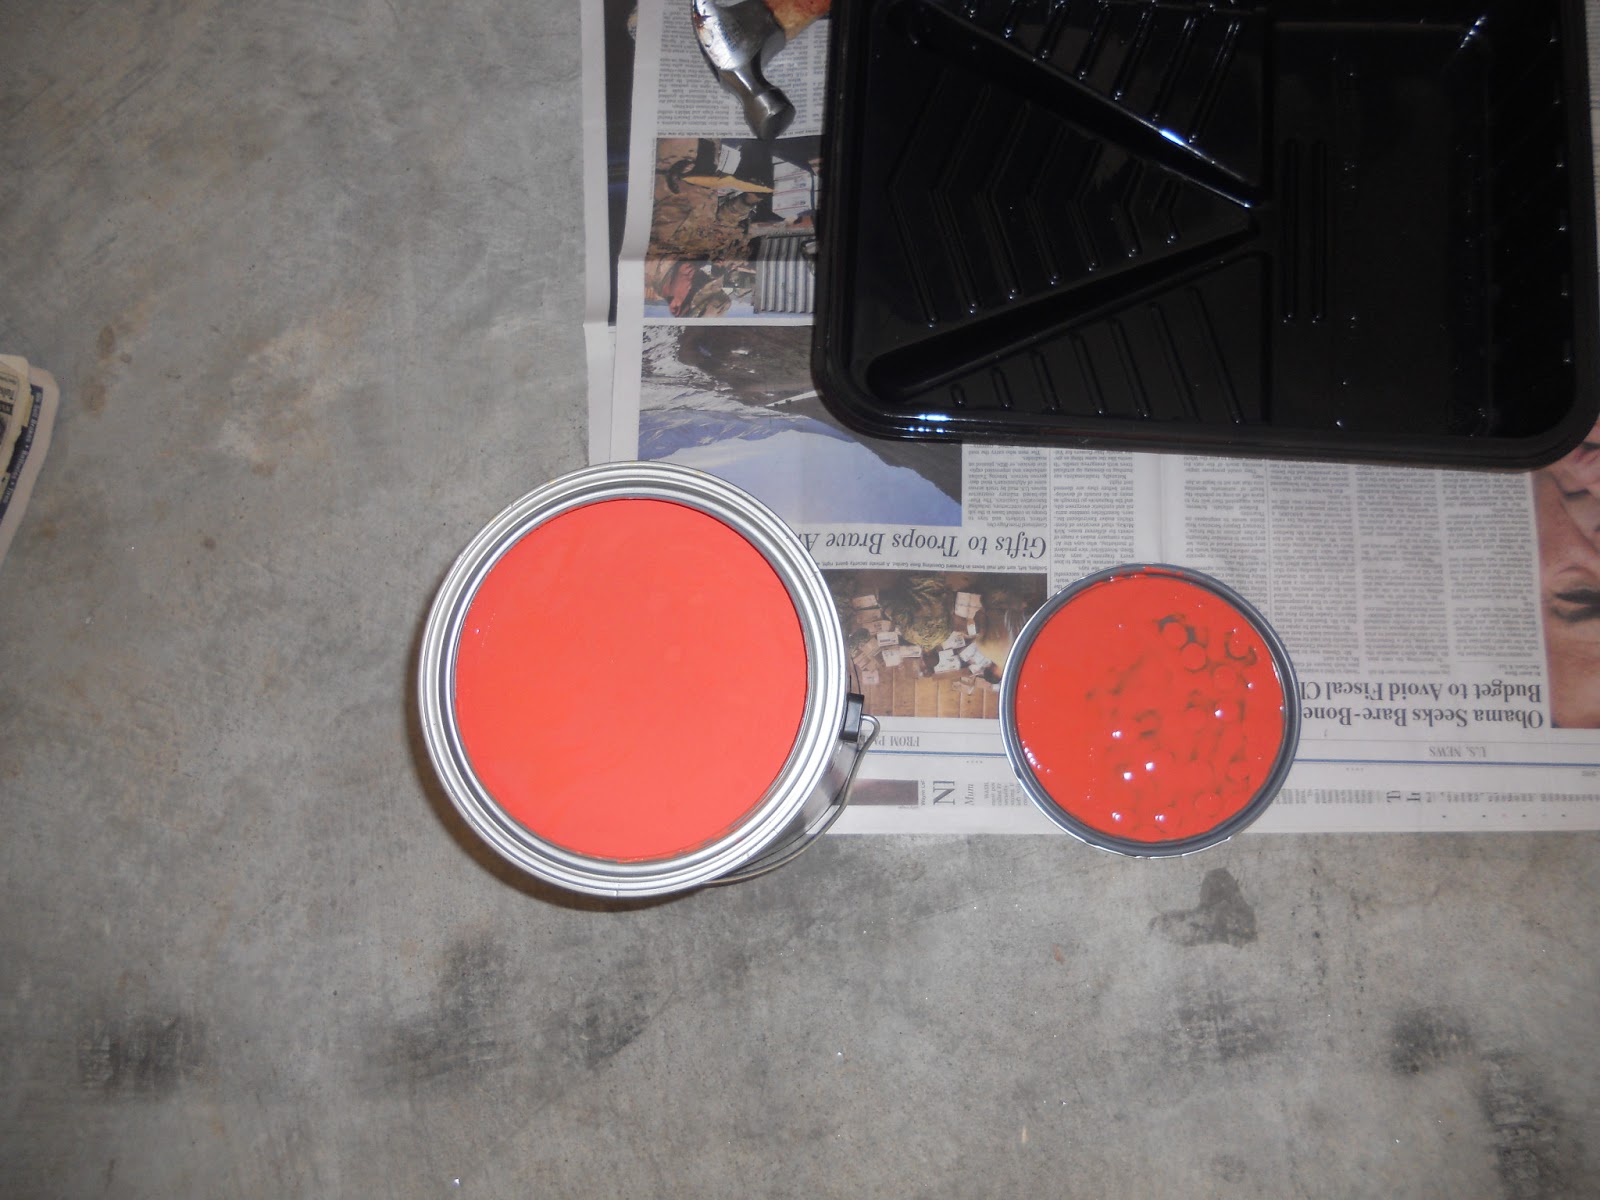
| Materials Used |
 |
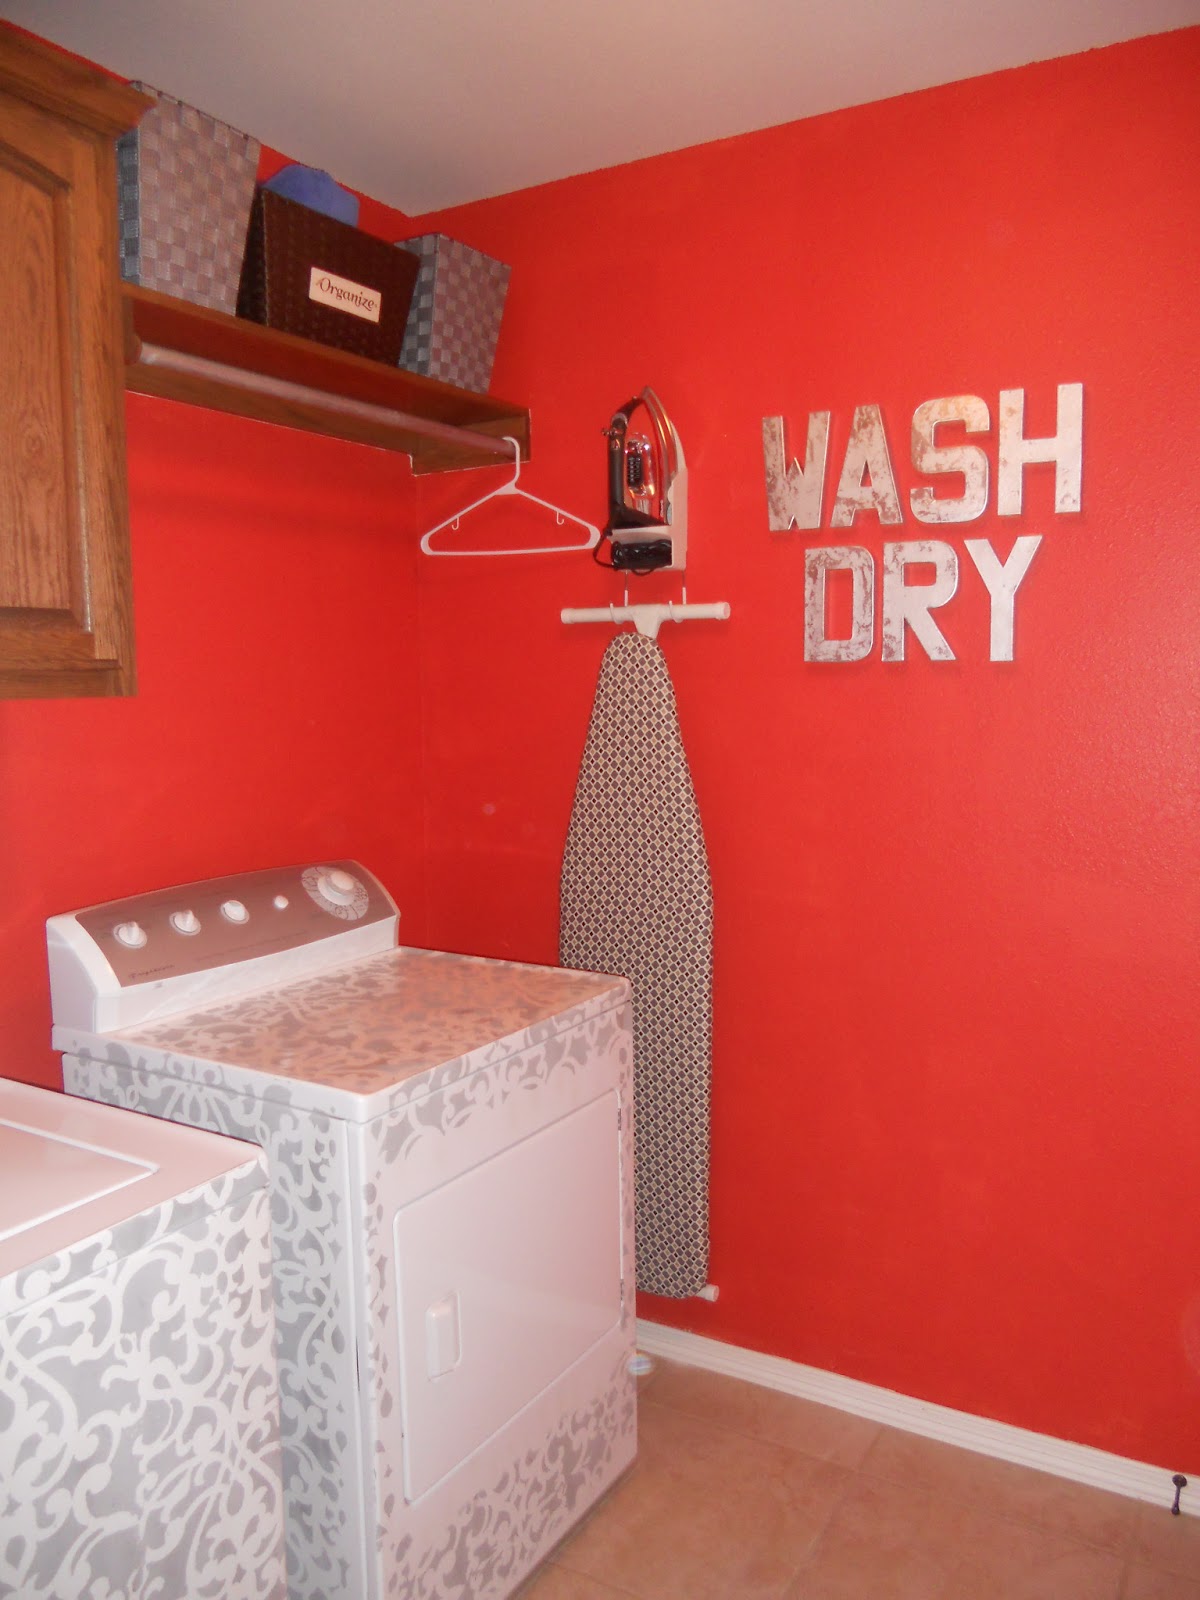
| After 1 coat of Primer and 2 Coats of Paint |
JT on the other hand put up curtains in the guest room which
I have been convincing him to do.. He did spend very close to the limit but I
say he won the challenge.
 |
| Guest Room with Curtains |
While I was out of town, JT looked at my browsing
history to find the exact knife block I was looking at. He found a match and
bought extra accessories to give me something close to what I wanted. He put in two nights of work sanding, priming, painting, waiting for paint to dry, and painting again.
This is what I saw when i returned home....I’m such a lucky girl.
This is what I saw when i returned home....I’m such a lucky girl.
 | |
| Knife Block Re-Done |
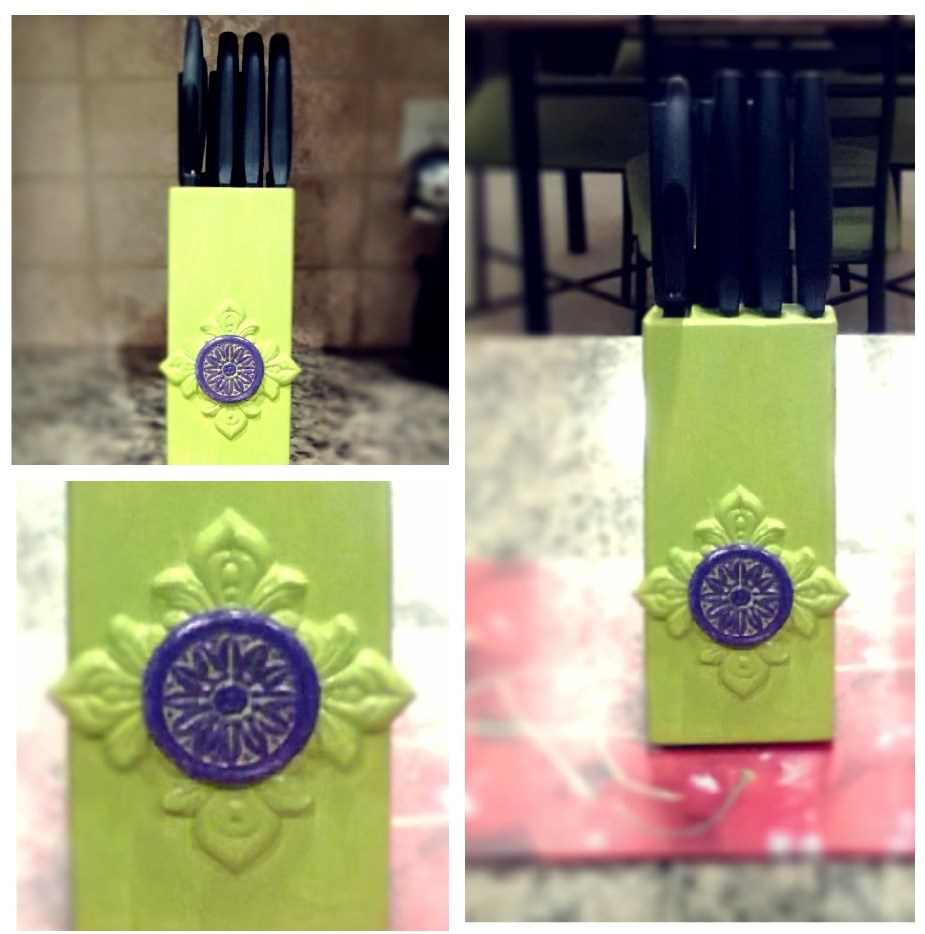 | |||||||||||||||||||||||||
| Love It !!!!! |